Getting started with a RC setup that works is harder than it looks, due to the number of parts and specifications required. A common starter requirement is to control a few servos remotely. These are my notes for the components and considerations required to get started.
Transmitter

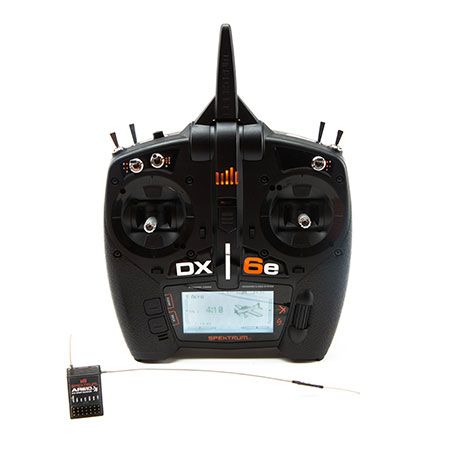
Spektrum DX6E
A transmitter and compatible receiver module. The ‘E’ in the model name refers to entry range.
For remote control, you will need a transmitter. There are many vendors on the market, a few of the common ones are:
- Futaba
- FrSky (value for money, supports OpenTX, but reported as a little less user friendly)
- Graupner
- Hitec
- Jeti (High end)
- Spektrum (Popular, good balance of features and ease of use)
Things to consider:
- The transmitter has enough channels. You will need one channel for each control input. (see below)
- Operating mode. Mode 1 has the throttle control (vertical movement) on the right stick (AU), while Mode 2 has the throttle control on the left stick (US).
- Availability and price of compatible receivers. The transmitter will need to be used in conjunction with a compatible receiver. Some receiver protocols are cheaper or easier to find than others.
Channels
The most important factor in selecting a tranmitter is the number of channels that you will require. Each control input (or servo) will require a different channel. For example, if the intended application is for a simple model aircraft, you will need controls for:
- Throttle
- Elevator (pitch)
- Aileron (roll)
- Rudder (yaw)
If each input is to be controlled separately, 4 channels will be required, with each input associated with a different channel.
For a beginner with plans to tinker, a 6 channel radio is great since all controls are covered and there will be 2 channels remaining for future projects.
Receiver

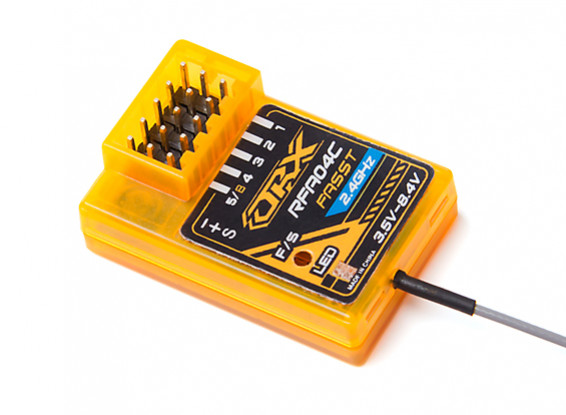
OrangeRx RFA04C
A Futaba compatible 4 channel receiver. This receiver speaks FASST. Note there are 5 rows of 3 pins. The extra connection is for battery power.
Depending on which vendor of transmitter you select, the receiver will need to match. This is because each vendor will use a different transmitting protocol for their radio signal.
When selecting a receiver, make sure that
-
The receiver has enough channels. If you are using a 6 channel transmitter with a 4 channel receiver, 2 channel outputs on the receiver will be unusable.
-
The receiver speaks the same protocol as the transmitter. Generally this will require the receiver to be the same brand as the transmitter. However, it is possible to use a compatible receiver with a different brand. For example, OrangeRX has receivers that speak the DSM2/DSMX protocol from Spektrum transmitters.
-
The receiver ports match what you require. For standard servos, you will want the Hitec ‘S’ (often just called universal servo connector) or Futaba ‘J’ connector (same, but with an orientation key). The orientation key on a Futaba connector can be filed off to become a universal servo connector.
-
Other considerations:
- Telemetry
- Satellite (external antenna / antenna extension)
- Onboard Gyro
Pairing
Before use, the receiver will need to be paired with the transmitter. This should be covered in the transmitter manual, and typically involves setting a jumper and holding a button combination on on the transmitter while the receiver is powered on.
Power
A battery will be required to power the receiver. This is often done through any of the connector rows on the receiver. See the battery section below for power requirements.
Throttle
Note that if throttle control is required for a brushless motor, an electronic speed controller (ESC) will be required. Brushless motors run on AC current, and will often contain an inverter. Note also that brushless motors also have large current draw, hence why lithium batteries are often required. Lithium batteries will also have a higher voltage output.
Servo

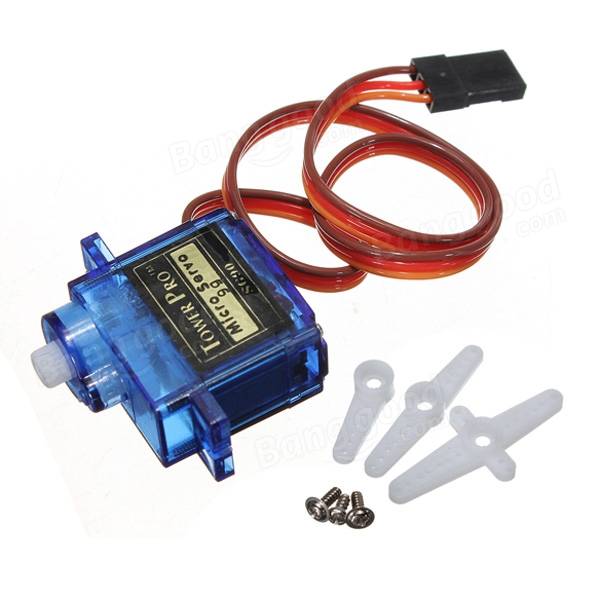
A 9g servo
A servo that weighs 9 grams along with accompanying head attachments.
Servos are motors that allow precise control of angular or linear position. These motors can be attached to joints or control surfaces to control them, such as steering on a vehicle or aileron on an aircraft.
The 9g servo is a standard small servo. These servos are relatively inexpensive, and use plastic gearing. A servo that uses metal gearing may cost more and survive longer, but will be heavier.
There are 3 wires connecting a servo, often these are coloured red, brown and orange/yellow. The red and brown wires are positive and ground respectively. The orange/yellow is the signal wire, that carries the PWM signal for positioning.
When determining the servo to use, consider the
- Weight
- Size
- Application (e.g plastic/metal gearing required)
- Torque
- Voltage (to both the receiver and servo)
Small servos (e.g. 9g servos) usually have a maximum operating voltage of about 7V. Due to this, lithium batteries are unsuitable, unless a high voltage servo is used.
Battery

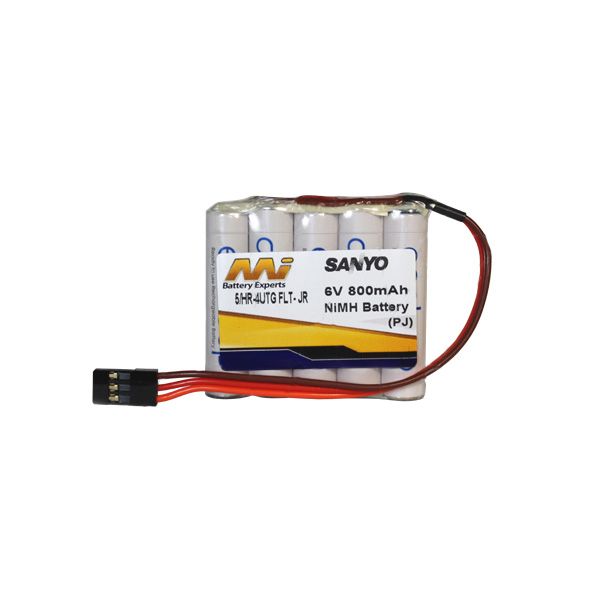
6v NiMH battery pack
This 6v battery pack is made from 4x1.5v AA rechargeable eneloop batteries.
In order to remotely operate the receiver, a battery is required. For small servos, operating at 6V is standard, since a charged 6V battery may output closer to 7V, and the servo will not operate below ~4.8V.
While you can use 4x1.5V AA batteries to achieve 6V, I prefer to use a rechargeable battery pack that can be reused. In the ~6V range, NiMH is the appropriate chemistry to go for. As explained above, lithium batteries will generally output over 7V, and are unsuitable for smaller servos.
Charging
Typical NiMH battery packs will come with a connector that plugs directly into the receiver or charger. Note that the positive wire (red) is in the center - it is not possible to accidentally connect this to the charger in the incorrect polarity!
For NiMH batteries, any generic AC wall charger will suffice, as long as the charge is designed to be used for NiMH batteries. Unlike lithium batteries, you do not need to buy an expensive balance charger, although you may consider investing in one if you intend to use LiPo batteries in future.
